The Vidmonials App for Slack empowers organizations to stay in the know, receiving immediate updates every time a new Vidmonial is collected.
Here’s a step-by-step guide to add Vidmonials integration for Slack.
Step 1: Access Integration Settings
- To begin the integration process, log in to your Vidmonials account.
Step 2: Navigate to Social Settings
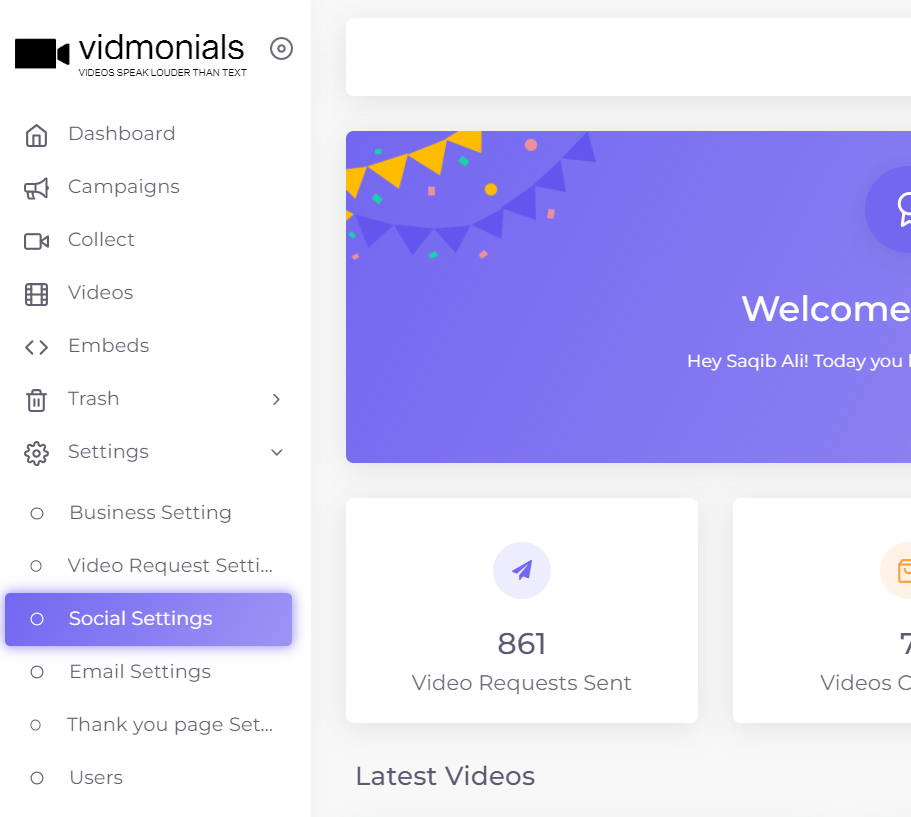
- Once logged in, navigate to the “Social Settings” under the “Settings” tab within your Vidmonials account. Look for the option named “Your Slack Accounts”.
Step 3: Connect with Slack
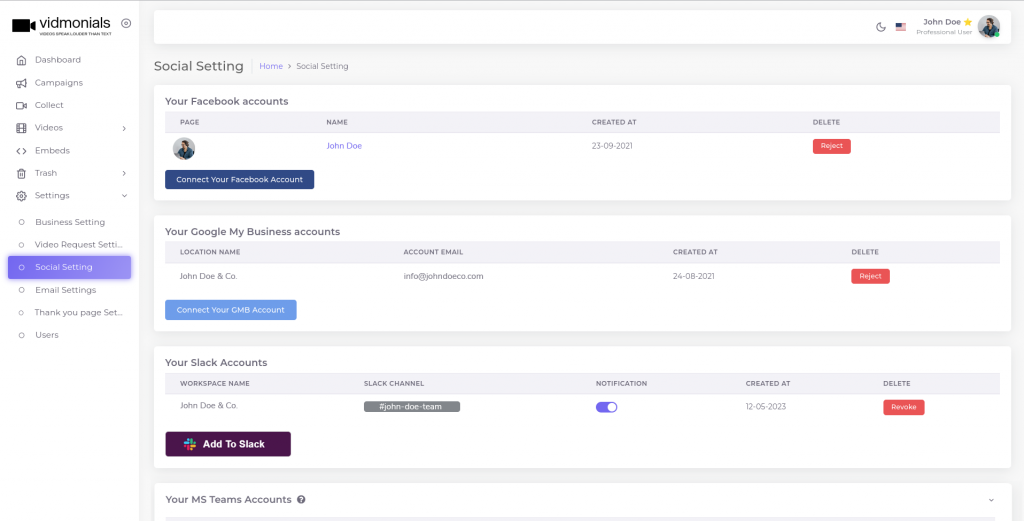
- In the “Your Slack Accounts” section, click on the “Add To Slack” button to initiate the authentication process.
Step 4: Grant Permissions
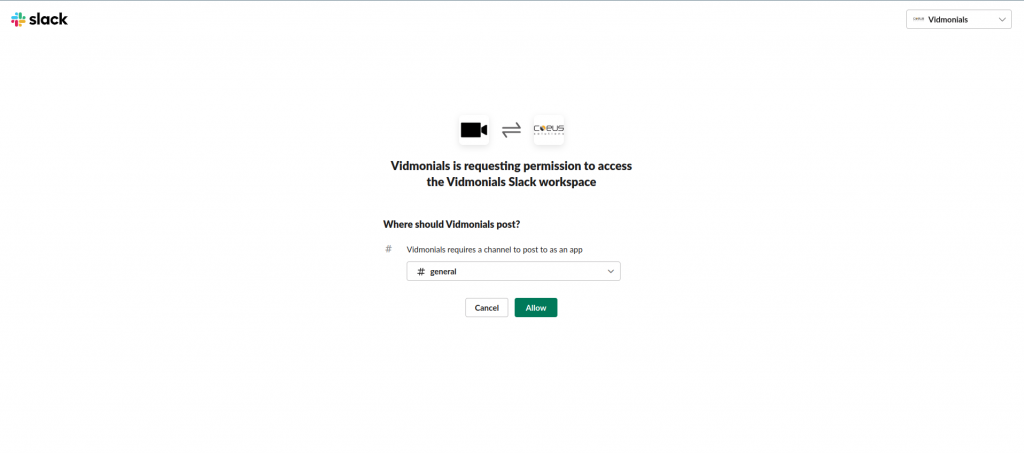
- Vidmonials will request the necessary permissions to access your Slack account. These permissions are essential to ensure the seamless integration of Vidmonials with Slack, enabling real-time updates to a selected Slack channel.
- To proceed, click on the “Allow” button to grant the required permissions.
Step 5: Define Slack Channel
- After granting permissions, the next step is to specify the Slack channel where Vidmonials updates will be posted. You will be prompted to select a single channel within your Slack workspace.
- Choose the channel where you want Vidmonials updates to appear.
Step 6: Review and Confirm
- Before finalizing the integration, review your settings to ensure they align with your preferences.
- Verify the selected Slack channel and other preferences.
Step 8: Confirm Integration
- Once you’ve reviewed your settings, click the “Confirm” or “Connect” button to complete the integration process.
Step 9: Receive Vidmonials Updates in Slack
- With the integration successfully set up, Vidmonials responses will now be automatically shared in the designated Slack channel.
- Slack messages from Vidmonials will follow a structured format, making it easy for your team to access and engage with the video responses.
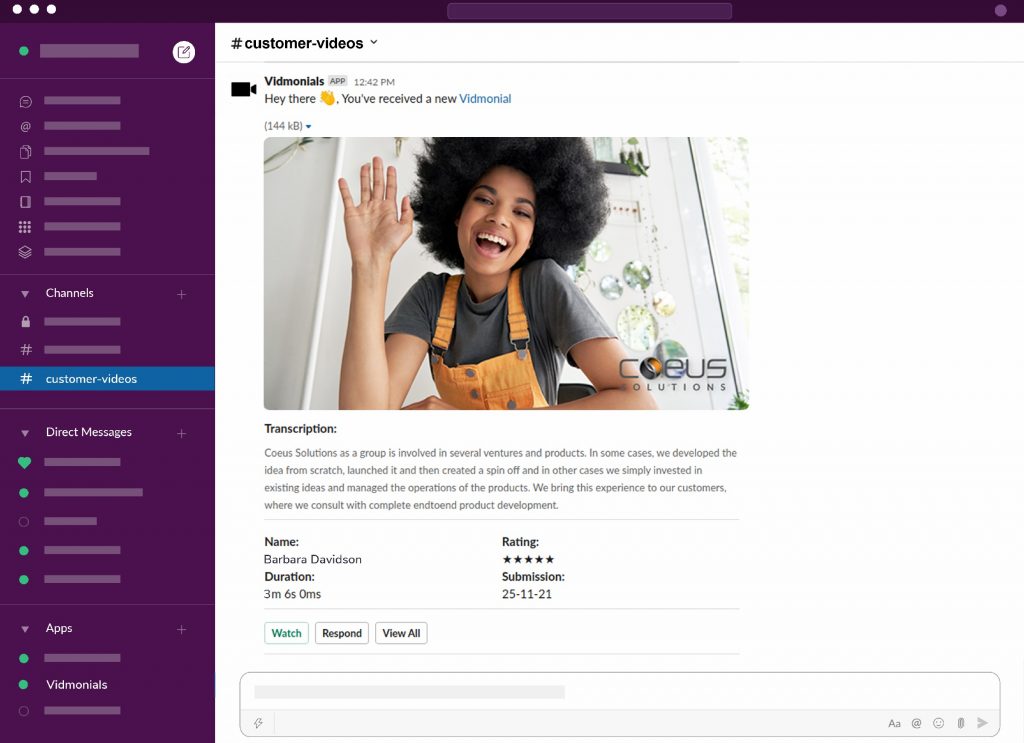
Wasn’t that easy? Nevertheless, if you need further help with your Slack connection, please feel free to contact us.